First test of a NanoVNA-H4 vector network analyzer
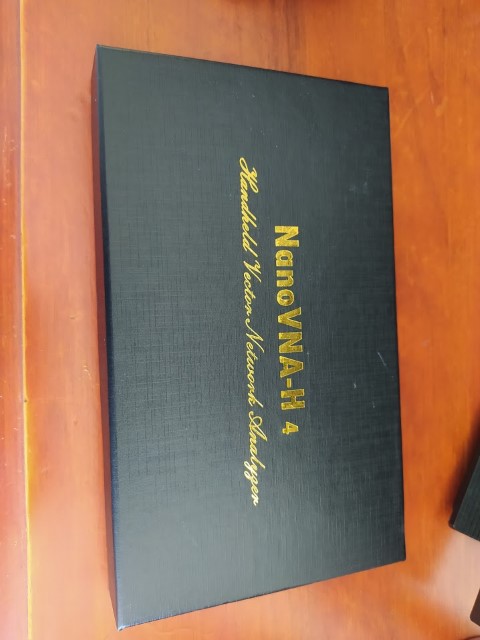
I recently got interested in RF (again) after hearing about the NanoVNA, a sub-$100 vector network analyzer. I wasn’t 100% sure what it did but it seemed it could help with tuning the antenna for my ADS-B feeder setup, and with RF filter testing. Quite a few varieties of the NanoVNA have appeared after it was first introduced. I went with the H4 model (Github) because it goes up to 1.5GHz, and has a nice large 4″ display and a beefy battery. I bought one from Taobao for around 85 AUD + 15 AUD shipping, but some quite price competitive eBay listings have popped up since then.
I watched some Youtube videos while waiting for it to ship to understand some of the basic theory behind standing wave ratio (SWR), return loss, S-parameters, Smith charts, directional couplers and VNAs. I recommend w2aew’s channel, he gives great concise explanations backed by theory & maths and most importantly, practical demonstrations.
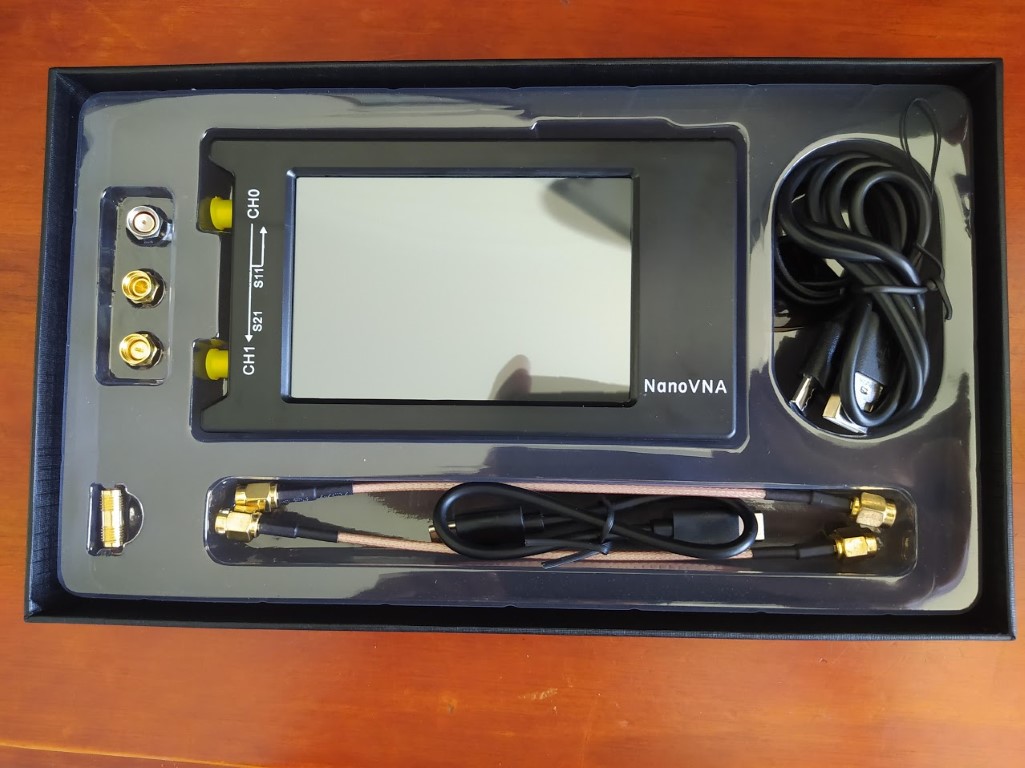
The device came partially charged and was ready to use. Despite the large screen size it’s still hard to select menu items with your finger; the included ‘pick’ works alright, but I found that a capacitive stylus from a tablet worked the best.
First step is to set the desired start & stop range in the stimulus menu, and then calibrate using the given open, short and 50-ohm loads (isolation and through too if you are using both ports for S21 measurement). I then tested some monopole and telescopic antennas. I also connected two filters, one FM bandstop filter and a 1090MHz filter, the results are below.
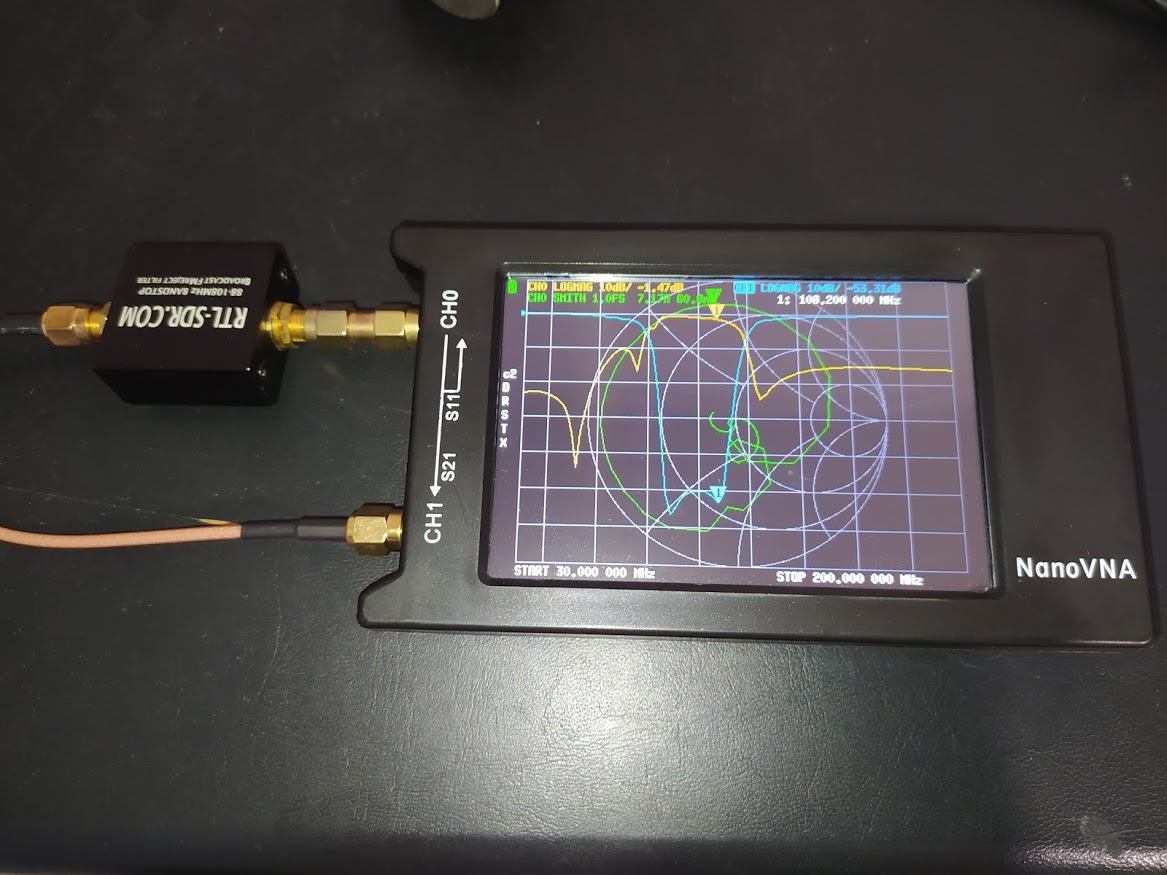
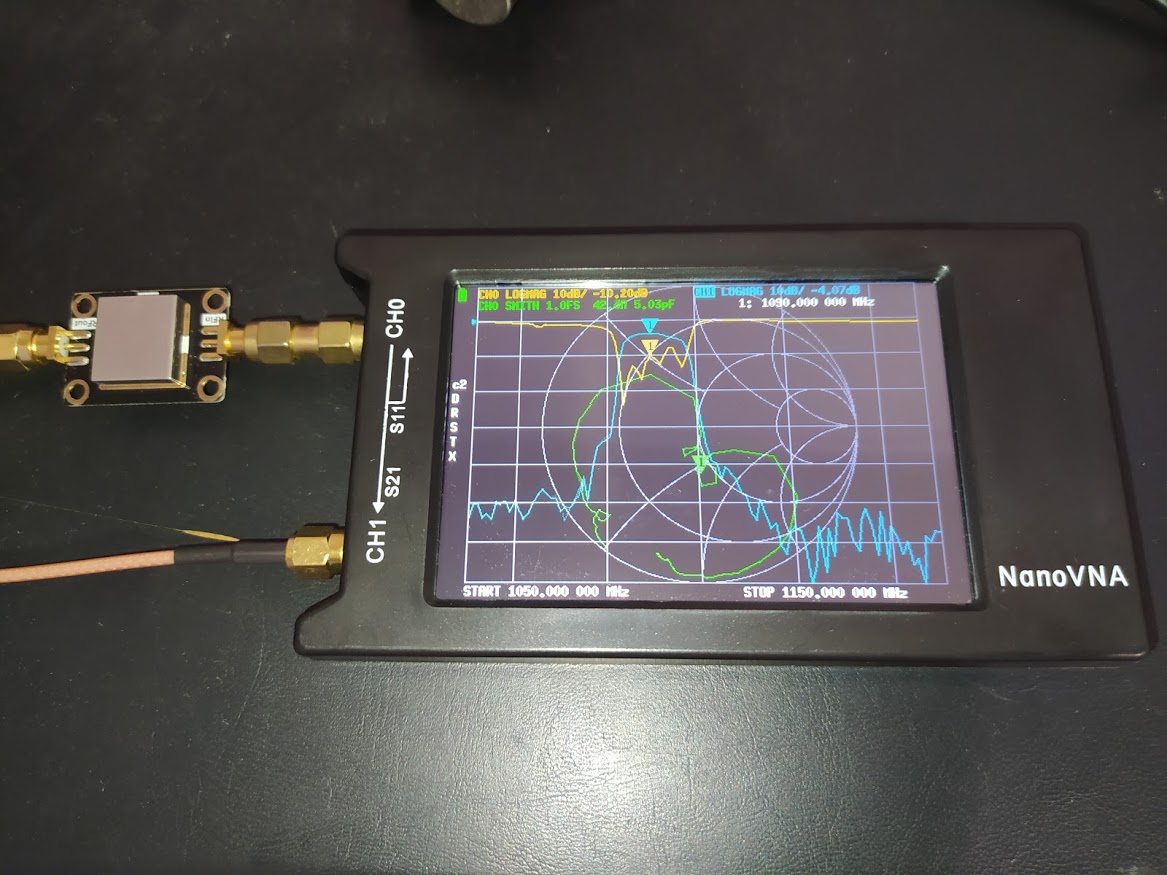
You can see that both filters function quite well (>50dB attenuation). The 1090MHz filter has a 4dB insertion loss which matches the Aliexpress listing. I’ll test it in the field once I get my Raspberry Pi solar setup running again.
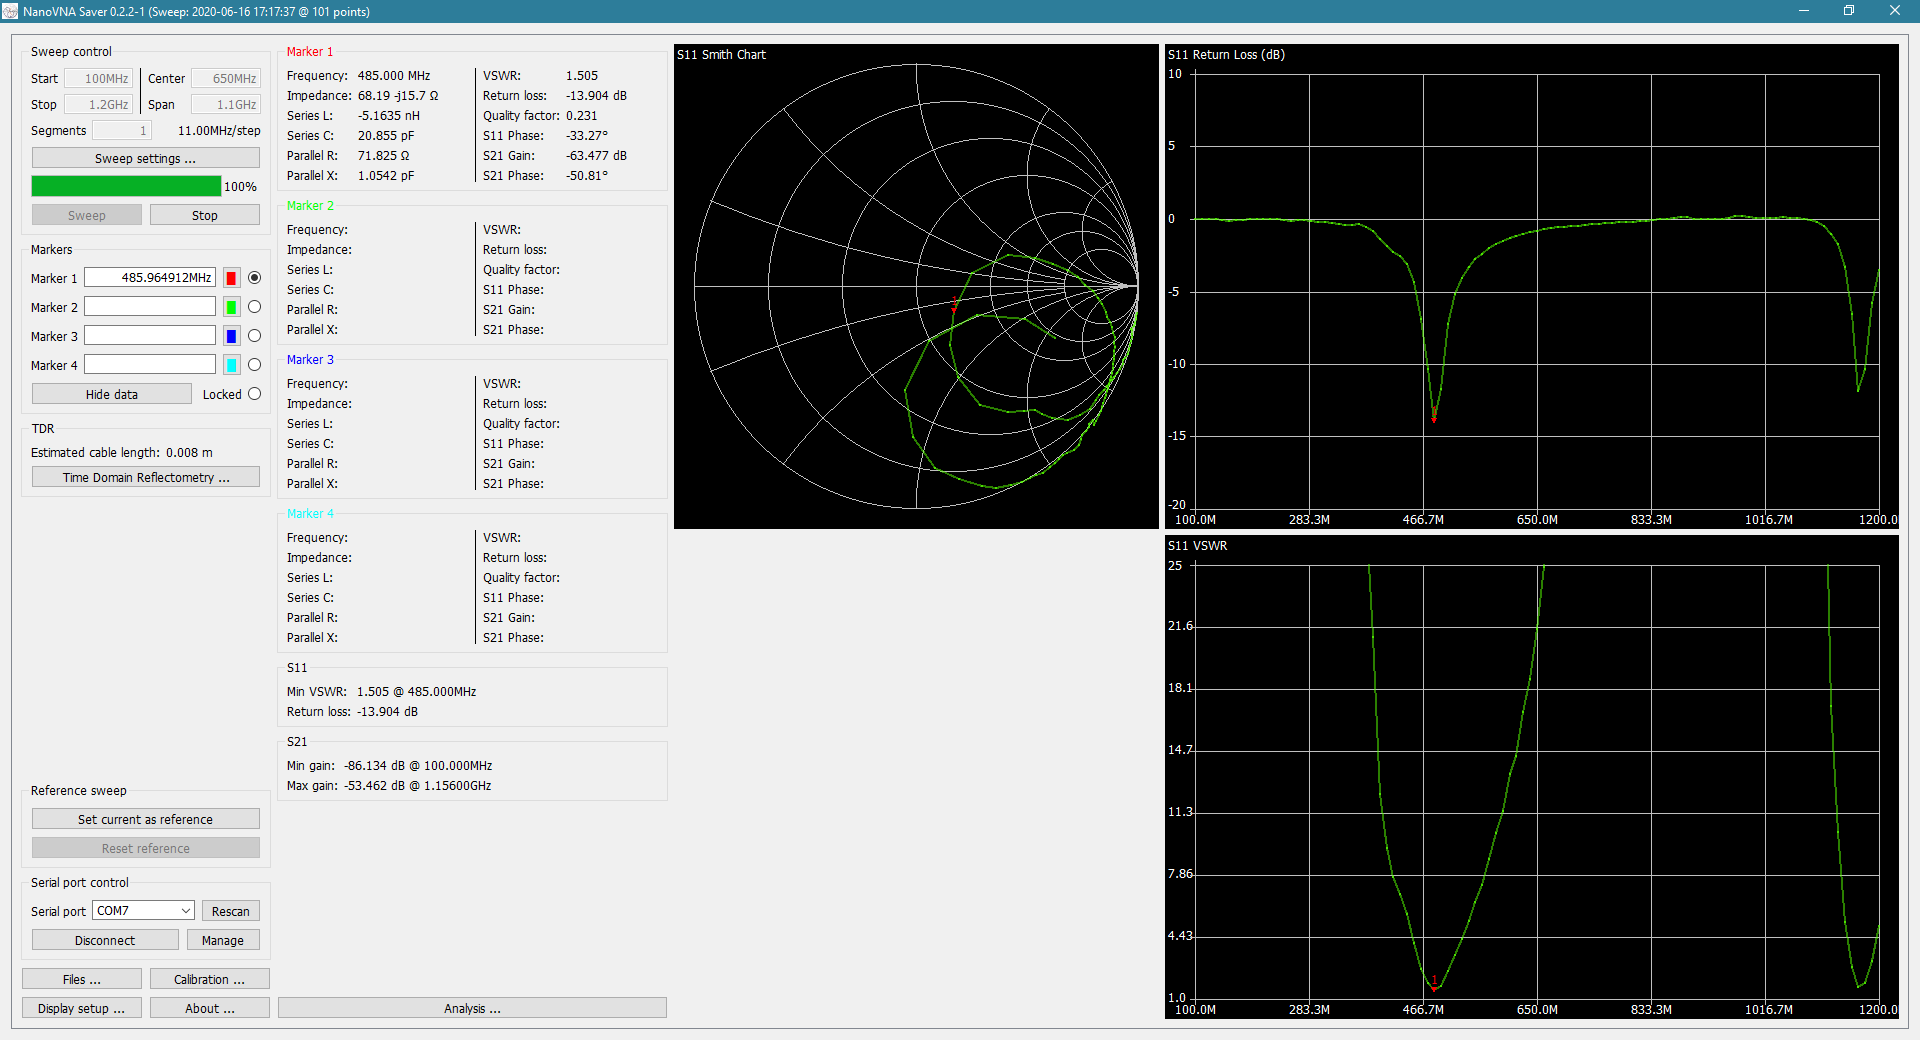
There’s also a range of PC software options. I tried NanoVNASaver (open source, Windows builds available) and it worked with no installation required. Screenshot below.
Overall I’m very happy with the device and it really is great that hobbyists can now have access to equipment which used to be prohibitively expensive (in the thousands of dollars).